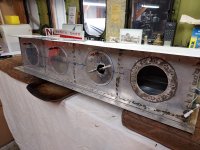
I have a set of build RV7 tanks that i'm trying to figure out what the best plan of action would be.
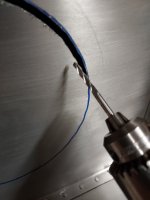
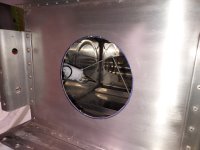
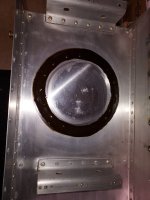
the previous builder added way to much Sealant and its making mounting the tanks a nightmare. (sealant where its not required along the spar mounting area of the tank, needed to be sanded off) These have also been sitting in storage since the mid 2000's without any covers so id like to make sure there is no unwanted friends hiding between the baffles.
Do i drill out the rivets and try to remove the rear plate off the tanks or do I bite the bullet and order new tanks?