For those of you that have completed the flaps on the -9, did you "tape" or "pro-seal" the trailing edge to the flap to prevent warping during riveting? The reason I ask is as it stands now with just clecos in place it is very very straight, almost too straight if you catch my drift. I hate to pry everything apart to attempt to tape it or use the proseal method. Just looking for guidance, thanks in advance.

Van's Air Force
You are using an out of date browser. It may not display this or other websites correctly.
You should upgrade or use an alternative browser.
You should upgrade or use an alternative browser.
Flap trailing edge finishing
- Thread starter Surfdoc
- Start date

The proseal and/or tape method is not just for keeping it straight, but also for keeping the trailing edge together and not stressing the rivets so that they start "working" and coming loose.
I used a good stout piece of 1" x 1" angle with the holes drilled in the same spot as the holes in the trailing edge, and prosealed the interior surfaces of the trailing edge (aft 3/4" or so) and then clecoed that assembly to the angle and let it cure. Next day I pulled it apart and it was terrific, and I drove the rivets in.
I used a good stout piece of 1" x 1" angle with the holes drilled in the same spot as the holes in the trailing edge, and prosealed the interior surfaces of the trailing edge (aft 3/4" or so) and then clecoed that assembly to the angle and let it cure. Next day I pulled it apart and it was terrific, and I drove the rivets in.
more questions on the same topic
I'll be doing my flaps soon too, so this advice and thread is timely for me. I've also done my tanks so my fear of pro-seal has diminished and I'd be happy working with it on other parts in the plane.
I did my rudder & elevator trailing edges with the VHB tape and I set the rivets with a squeezer and a die filed down to match the angle of the TE. That technique worked well for me, with nicely finished rivets and straight edges. I'm wondering though with the flaps and ailerons am I better off using a gun & back-rivet plate, with the whole assembly weighted down on a table?
Proseal here. Whatever you do, it isn't going to stay the same once you start setting rivets. During the process of setting those rivets, if you go slow, you'll find that you can massage the "straightness" to your liking.
Agree with this. It's how I did mine.
N941WR
Legacy Member
I didn't use anything on mine.
I found that if you put the clecos in alternating sides, the flap will stay straight.
Then I counted the rivets and marked the center and end ones as #1. Then I divided those spaces in two and marked the center hole #2. I kept doing that until every hole was marked with a number.
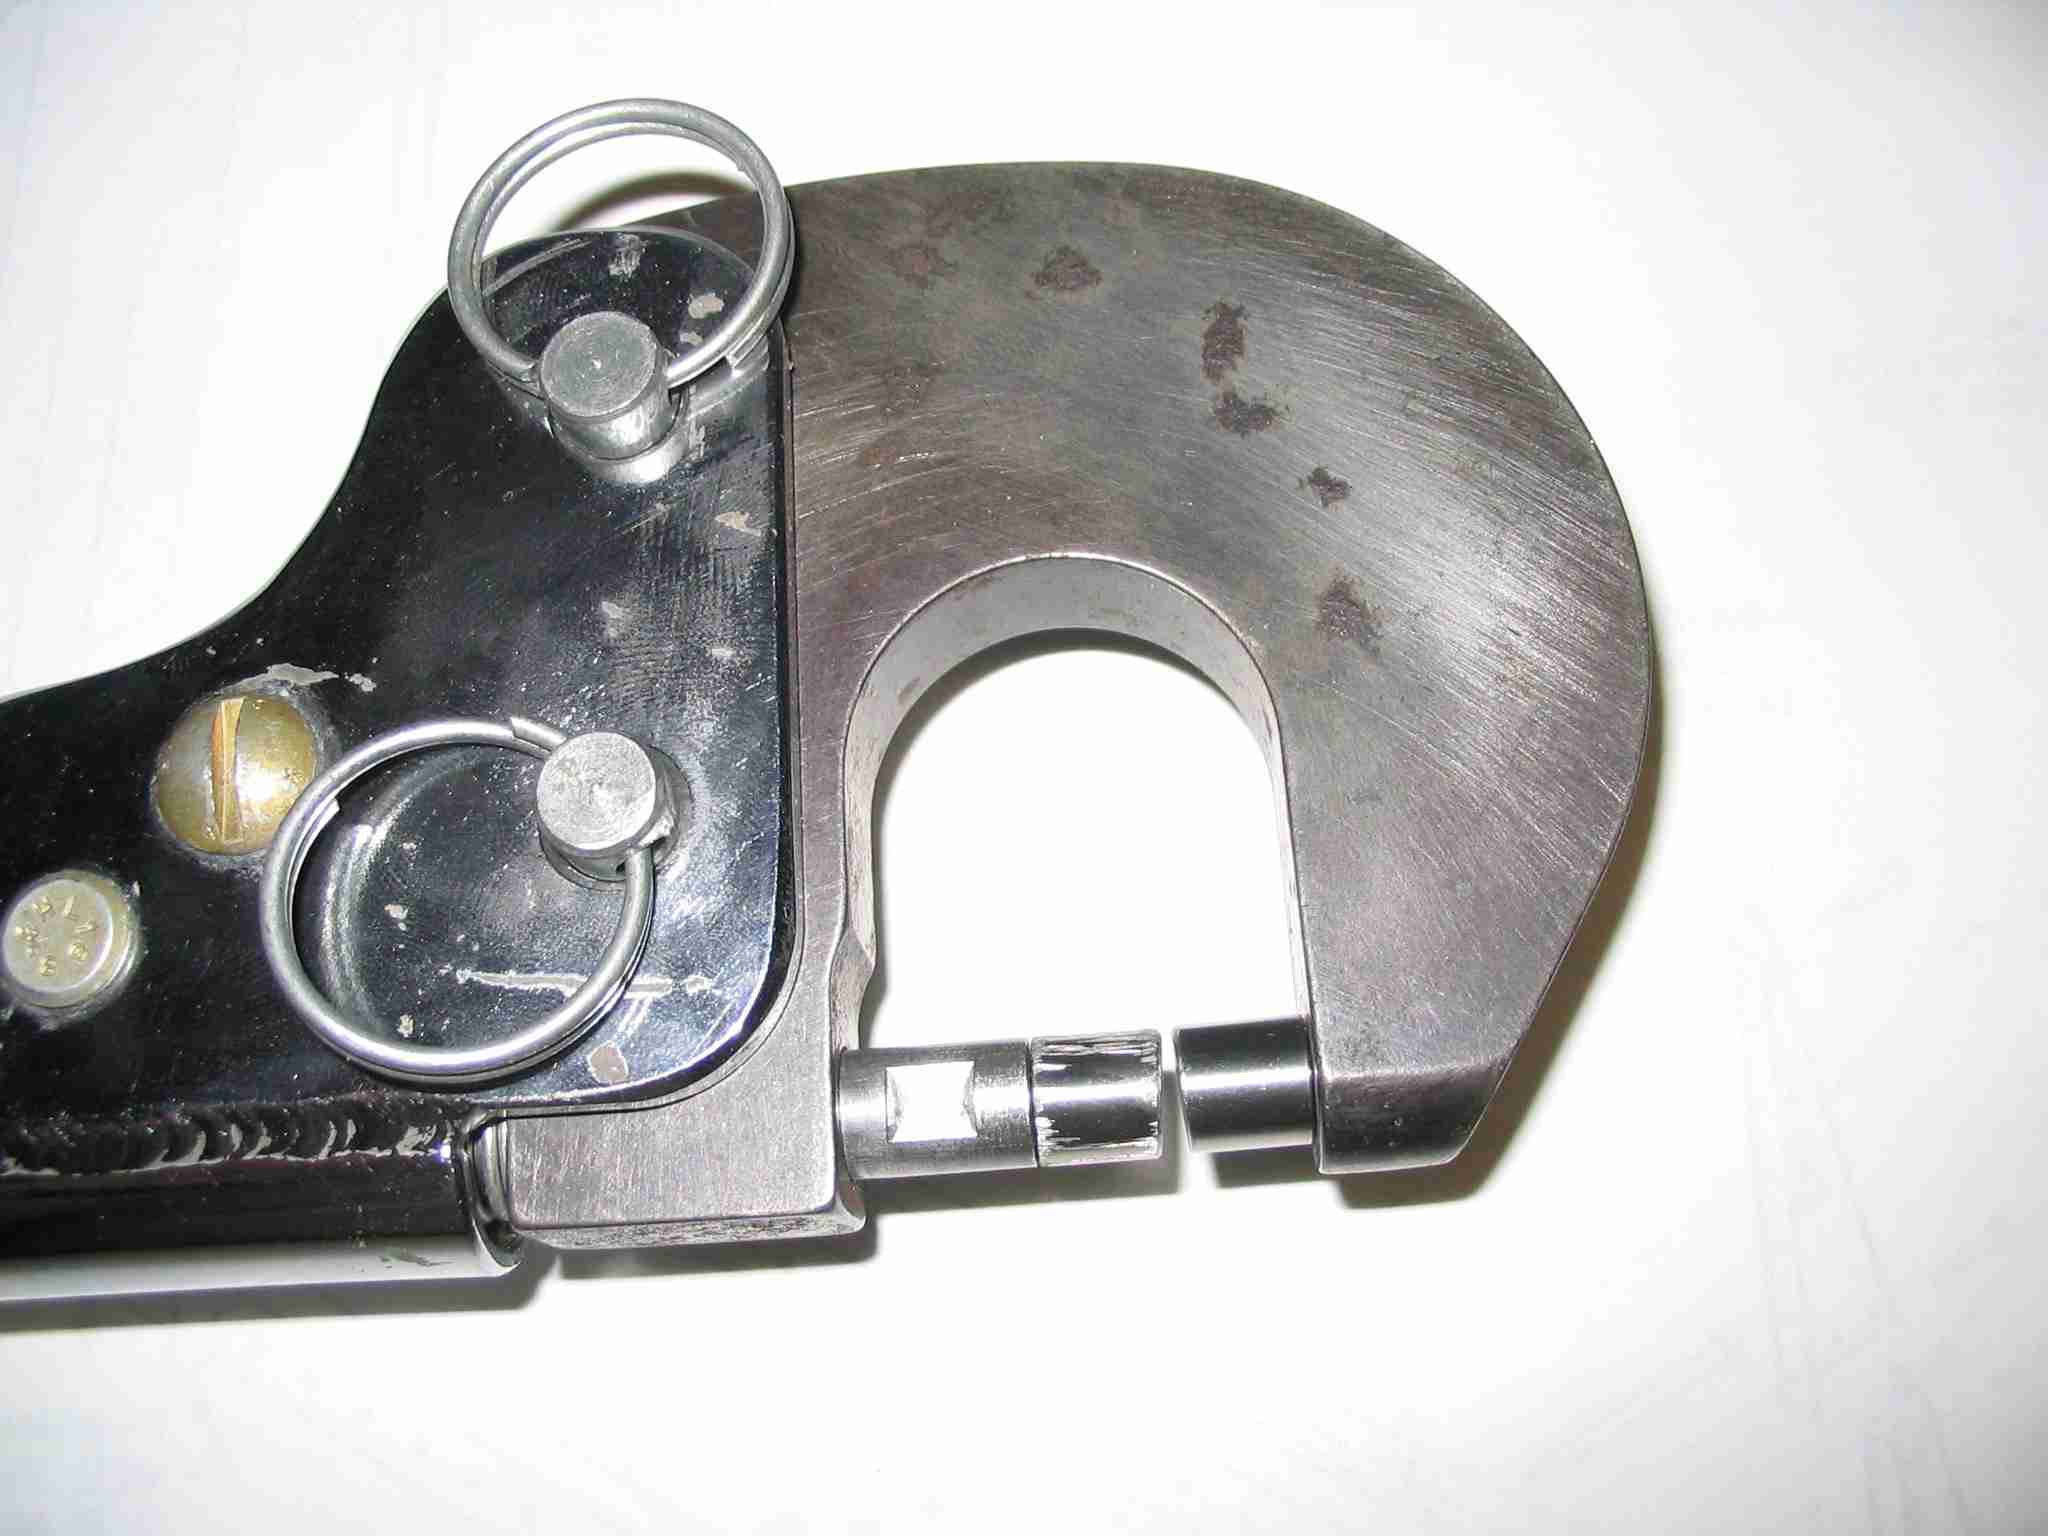
Next, I ground down and polished a rivet set to match the angle of the flaps.

(click to enlarge)
With my modified rivet set, I carefully half squeezed the rivets. Inserting the three #1 rivets first, then the two #2 rivets, then the four #4 rivets, etc.
I also marked the rivets so that they would be inserted from different directions in each hole. Thus you would see a shop head, factory head, shop head, factory head, etc. as you looked down the surface. (Is that clear?)
After I half set each rivet, I went back in the same order and finished setting them. All my control surfaces are straight as an arrow.
I found that if you put the clecos in alternating sides, the flap will stay straight.
Then I counted the rivets and marked the center and end ones as #1. Then I divided those spaces in two and marked the center hole #2. I kept doing that until every hole was marked with a number.
Next, I ground down and polished a rivet set to match the angle of the flaps.
(click to enlarge)
With my modified rivet set, I carefully half squeezed the rivets. Inserting the three #1 rivets first, then the two #2 rivets, then the four #4 rivets, etc.
I also marked the rivets so that they would be inserted from different directions in each hole. Thus you would see a shop head, factory head, shop head, factory head, etc. as you looked down the surface. (Is that clear?)
After I half set each rivet, I went back in the same order and finished setting them. All my control surfaces are straight as an arrow.
The proseal and/or tape method is not just for keeping it straight, but also for keeping the trailing edge together and not stressing the rivets so that they start "working" and coming loose.
Adhesive is not a structural part of the design. All of the riveted trailing edge control surfaces used on RV?s would be considered acceptable if only rivets were used.
The adhesive was incorporated only to help with the assembly process.
On my 9A ailerons and flaps I used a rivet gun, back-rivet plate and lots of weight (sandbags) to keep things flat. No ProSeal or tape—just rivets. I was pleased with the results.
Last edited:

