cfiidon
Well Known Member
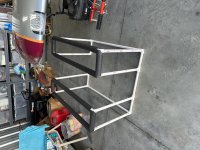
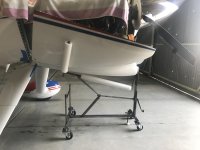
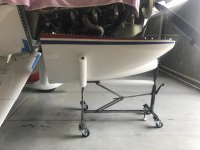
I came up with this method of putting the lower cowl in place on my RV-8. Others have also supplied tips, but I wanted something that was small and lightweight to carry in the airplane. I envisioned having to replace the lower cowl on a windy ramp at night on an isolated ramp somewhere.
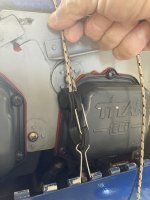
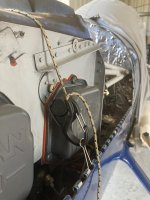
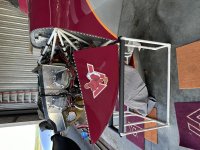
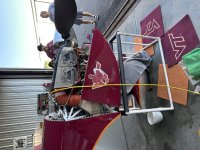
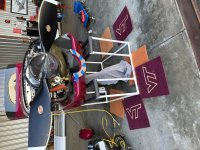
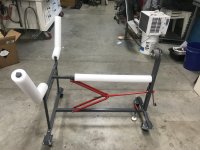
The pictures show using the "handles" from large binder clips to slip in the cowl hinges on the sides. The parachute cord simply loops over the baffling. I can inch the cowl up into place one side at a time without scraping it on the ground.
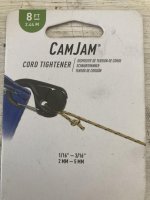
I bought the the rope and tension pieces in the Home Depot Aviation department. You could probably get away without that part if you are good at bowlines and slip knots.


Don
The pictures show using the "handles" from large binder clips to slip in the cowl hinges on the sides. The parachute cord simply loops over the baffling. I can inch the cowl up into place one side at a time without scraping it on the ground.
I bought the the rope and tension pieces in the Home Depot Aviation department. You could probably get away without that part if you are good at bowlines and slip knots.


Don