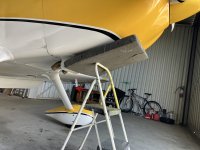
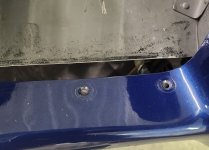
Doing an oil change today and, as always, struggling to get the bottom cowl off without scratching it, scratching the spinner, etc. It seems like the baffles on the front of the air box are too long, too stiff, or both. If there were no rubber there, or if the rubber was softer, it seems it wouldn’t be a problem. As it is, I have to push the lower cowl forward a couple of inches to get it around the baffles, but there isn’t that much clearance between the spinner and the cowl. The only way to get adequate clearance is to lower the aft portion and jiggle the front. Scratches result.
That’s just the removal. Replacement is just as hard. Doing it alone is a non-starter.
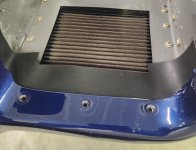
This is an RV7 with an O-360-A1A the Van’s carb air box.
This sounds like a Dear Abby letter, so sign me. . . . .
Aggravated at the Airport
That’s just the removal. Replacement is just as hard. Doing it alone is a non-starter.
This is an RV7 with an O-360-A1A the Van’s carb air box.
This sounds like a Dear Abby letter, so sign me. . . . .
Aggravated at the Airport
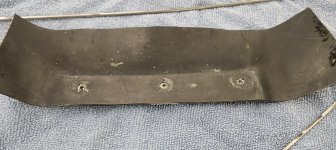
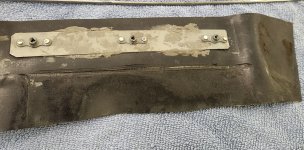

 Cowl removal is much easier without it.
 language. Very interesting comment about the flexible baffling around the airbox intake as I wonder without that there would also be some airflow through the lower cowling, would that help pull more upper cowling air through the cylinders or just add drag?